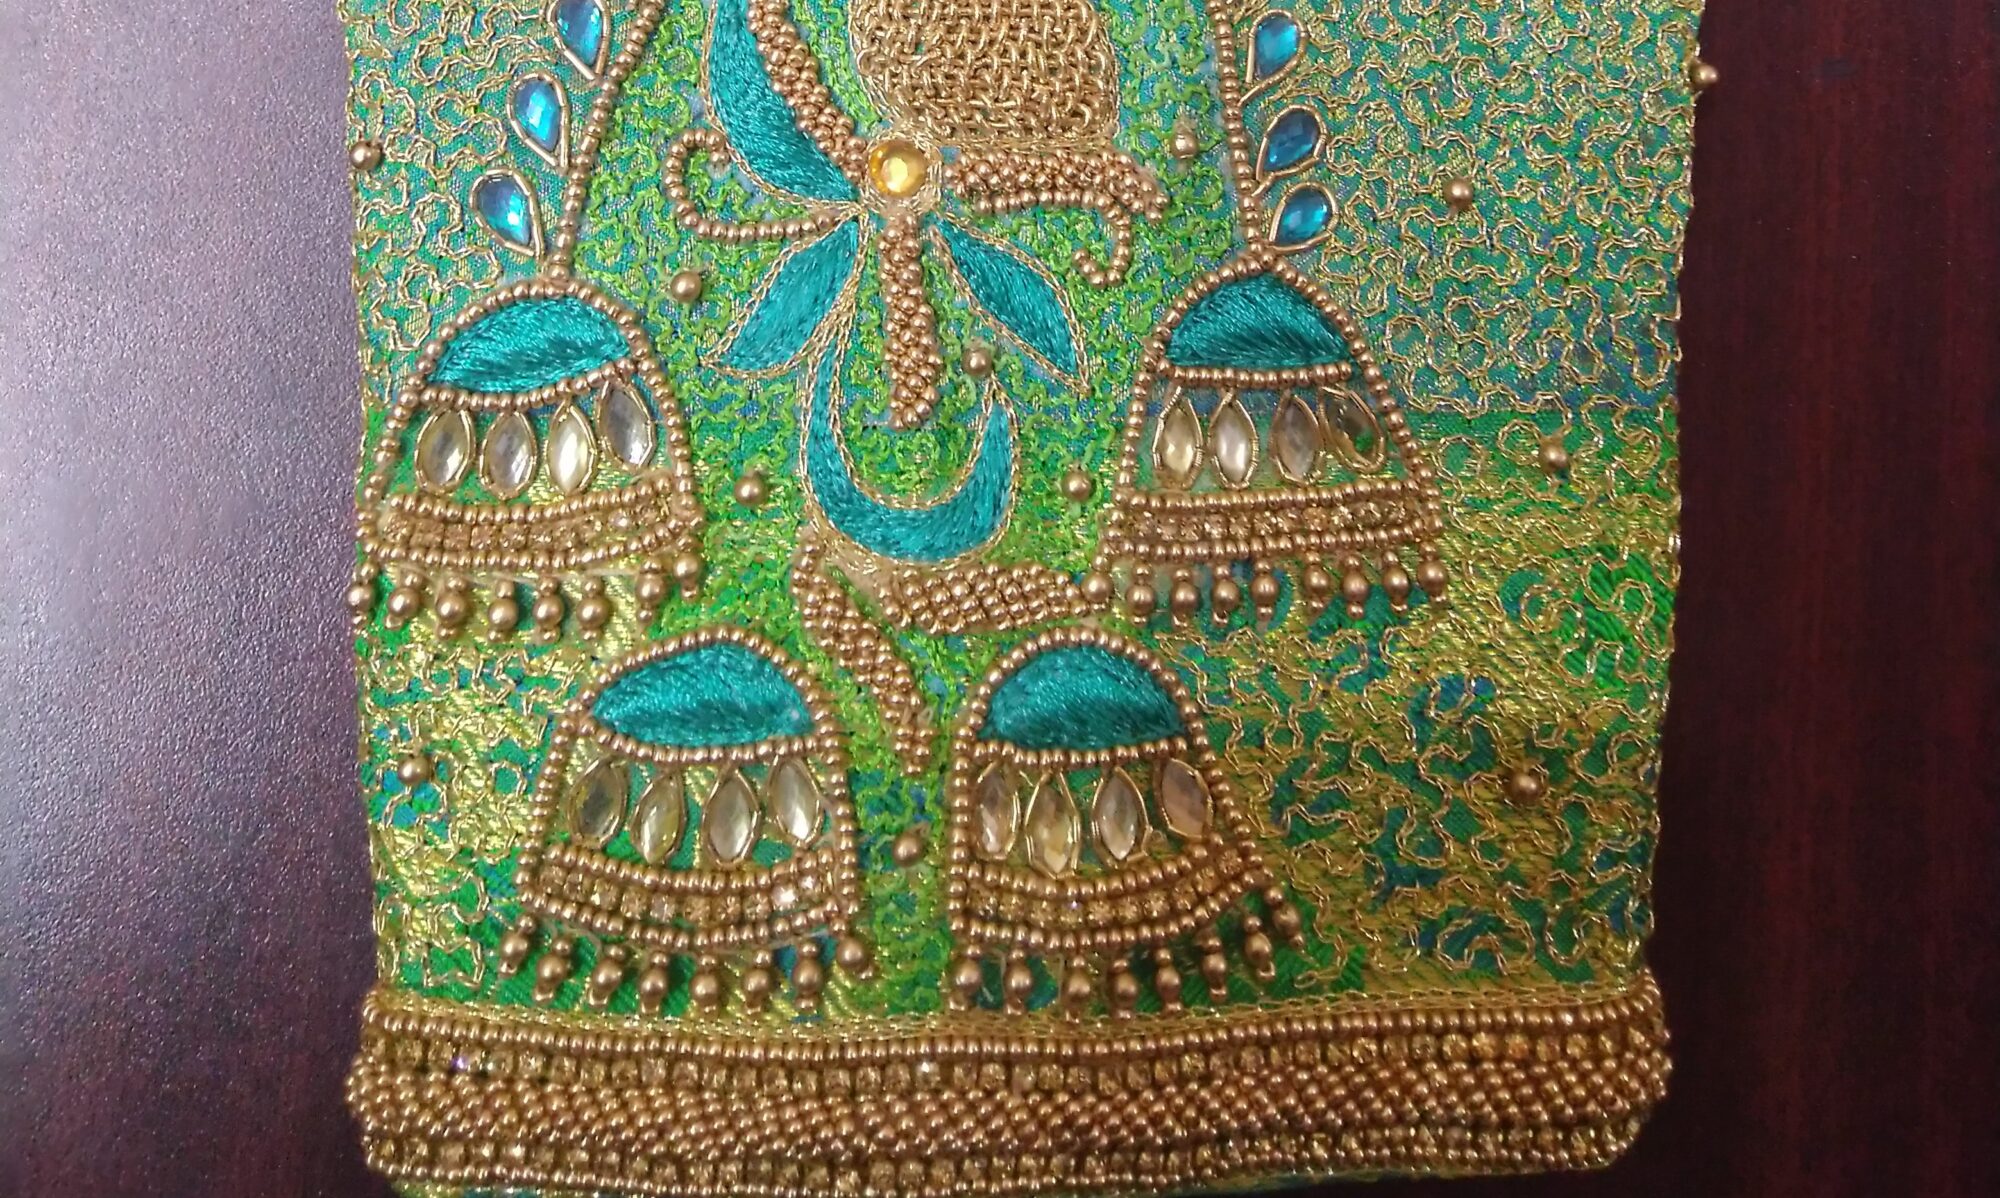

Embroidery is indeed a traditional craft that has been practised for centuries. Of course, It involves the art of stitching designs onto fabric using needles and thread. Designing for embroidery requires a specific approach that takes into account the characteristics of the craft. In this article, we will explore the essential elements of designing for embroidery.
Choosing the Right Design
The first step in designing for embroidery is selecting the right design. Embroidery designs should be simple and clean, with a limited color palette. Avoid designs that are too complex or have too many small details, as these can be difficult to translate into stitches. The design should also be appropriate for the fabric it will be embroidered on.
Creating the Design
Once you have chosen the design, the next step is to create it. This can be done using a variety of tools, including graphic design software or by hand drawing the design onto graph paper. When creating the design, keep in mind the stitch types that will be used and the direction of the stitches.
Preparing the Designing for embroidery
Choose a design and mark it on the fabric. We should be careful in selecting the design that will be suitable for the materials.
- Those who are good at drawing can draw directly on the fabric by free hand with a pencil or specialised pen. On transparent or thin fabric, designs can be drawn directly by keeping the fabric tight in the Embroidery ring.
- Using transfer paper.
- Using carbon paper.
- Using a glass plate and light.
- Using butter paper.
- Using a tracing wheel.
- Pricking and pouncing
After the design is created, it needs to be prepared for embroidery. Firstly, This involves digitizing the design, which is the process of converting the design into a format that can be read by embroidery machines. The digitizing process should take into account the stitch types and direction, as well as the fabric and thread that will be used.
Testing the Designing for embroidery
Before embroidering the design onto the final fabric, it is essential to test the design. Meanwhile, This can be done by embroidering the design onto a sample piece of fabric using the same materials and settings that will be used for the final product. As a matter of fact, Testing allows you to ensure that the design is compatible with the fabric and thread and that the stitches are correct.
Embroidering the Design
Once the design has been tested, it is time to embroider it onto the final fabric. Moreover, This requires an embroidery machine and a skilled operator who can adjust the settings to achieve the best results. In fact, The fabric should be properly stabilized to ensure that the design is embroidered evenly and without distortion.
Conclusion
Designing for embroidery requires a specific approach that takes into account the characteristics of the craft. By choosing the right design, creating it with the correct stitch types and direction, and testing it before embroidering, you can achieve excellent results. With these essential elements in mind, you can create beautiful embroidered designs that will last for generations to come. Mastering the Art of Designing for Embroidery From Sketch to Stitch